
cam's Recent Posts

Let's turn pictures into partials!
Hello out there! It's Cam.
I'm here in text mode to tell you about the video I'm currently working on. It's all about converting images into Sumu partials with a command line tool called img2utu. There's a lot I have to say about it so Randy gave me the nudge to make my first Team Note on here.
For those who want to dive right in, download the script here, installation and usage instructions are included.
I've long been interested in the idea of sounds and images transforming into and creating one another. I don't actually have sound-sight synesthesia but there are definitely hallways way in the back of my brain where my senses are hot-wired together by sheer vibes. G# is rose colored, Eb is marigold, flat 7 is an ancient god wearing sunglasses. You think I'm joking but go to the piano and see for yourself.
Vibes alone can only take us so far in a discussion though, so let's talk about the spectrogram, a much more empirical method of visualizing what we hear. I'm sure you've fallen in love with these already. Maybe you've seen them before while browsing wildlife recordings on Xeno Canto or maybe you've annotated audio in Sonic Visualizer. Perhaps you're so into spectrograms that you always have one running in the corner with MiniMeters. I just wanted to link those things because I think they're neat. Do we agree that spectrograms are neat? Very good.
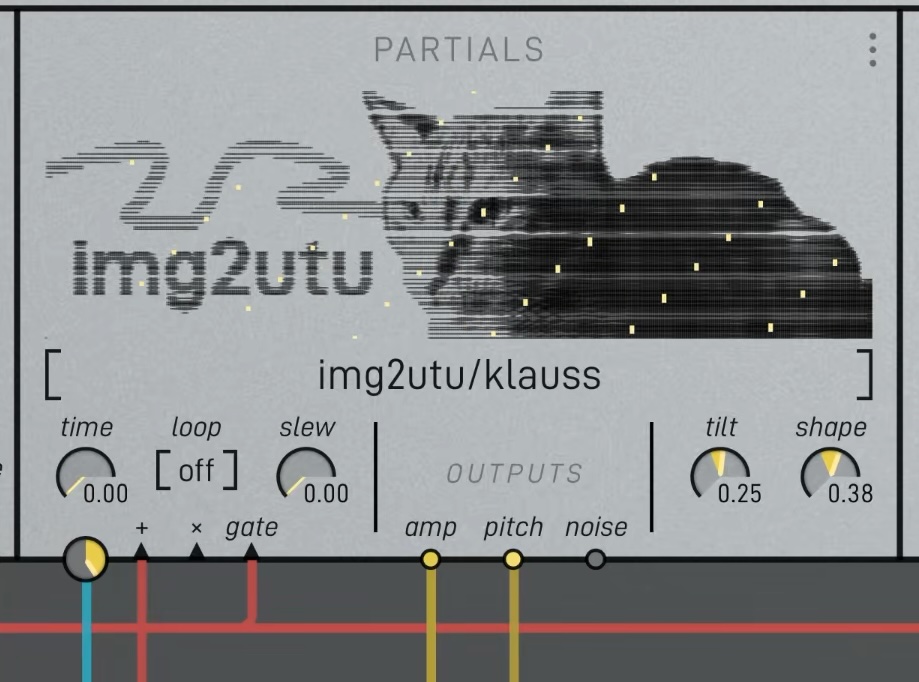
Sumu's partials window is sort of a spectrogram. Time and frequency form the horizontal and vertical axes and each partials of the selected .utu file is drawn as a dark line, with thicker marks being louder. Depending on the settings used in Vutu to create the partial set, the result can look more or less like the spectrogram of the source sound.
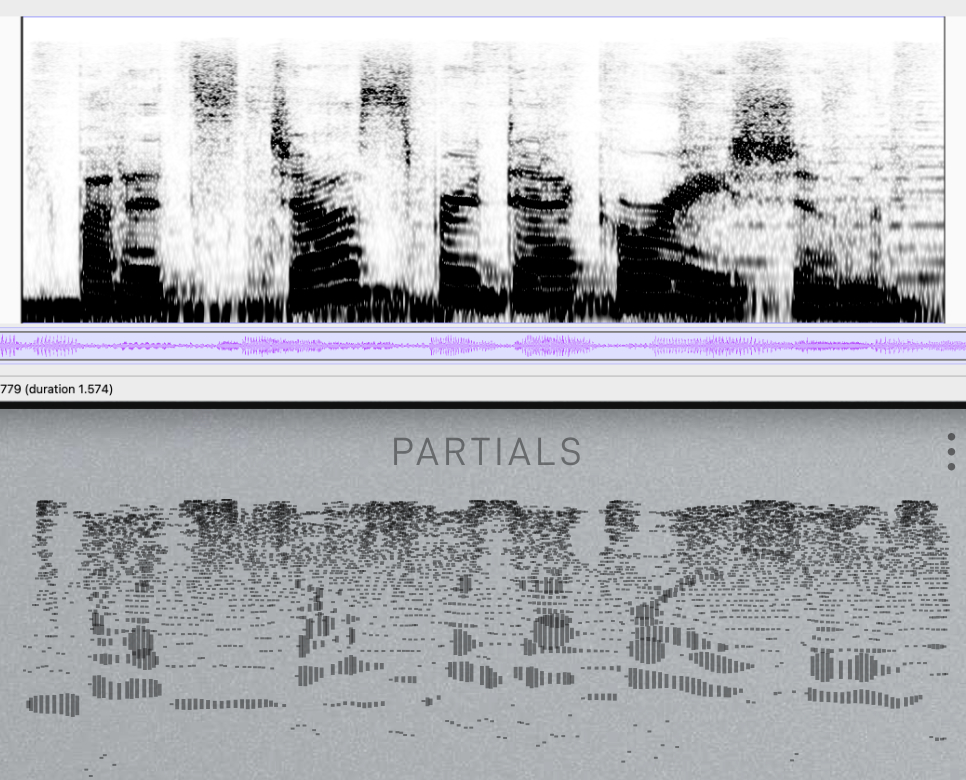
A comparison of a speech sample as a spectrogram, and in Sumu's partials window after being processed by Vutu.
The partial sets Sumu reads (.utu files) are simply JSON files that tell Sumu what partial is happening when, its frequency, amplitude, phase, and noisiness at each time value. It plots out each data point like keyframes in an animation. From there, the 64 oscillator pairs within each voice read that data and use it to resynthesize the sound. It's really a bogsnapping amount of calculations. Huge props to Randy.
JSON is pretty easy to toy with so it got me thinking about creating partial sets in other ways.. img2utu enters the chat.
Two goals:
1. Print image files inside the partials window.
2. Make cool sounds.
Chosen limits:
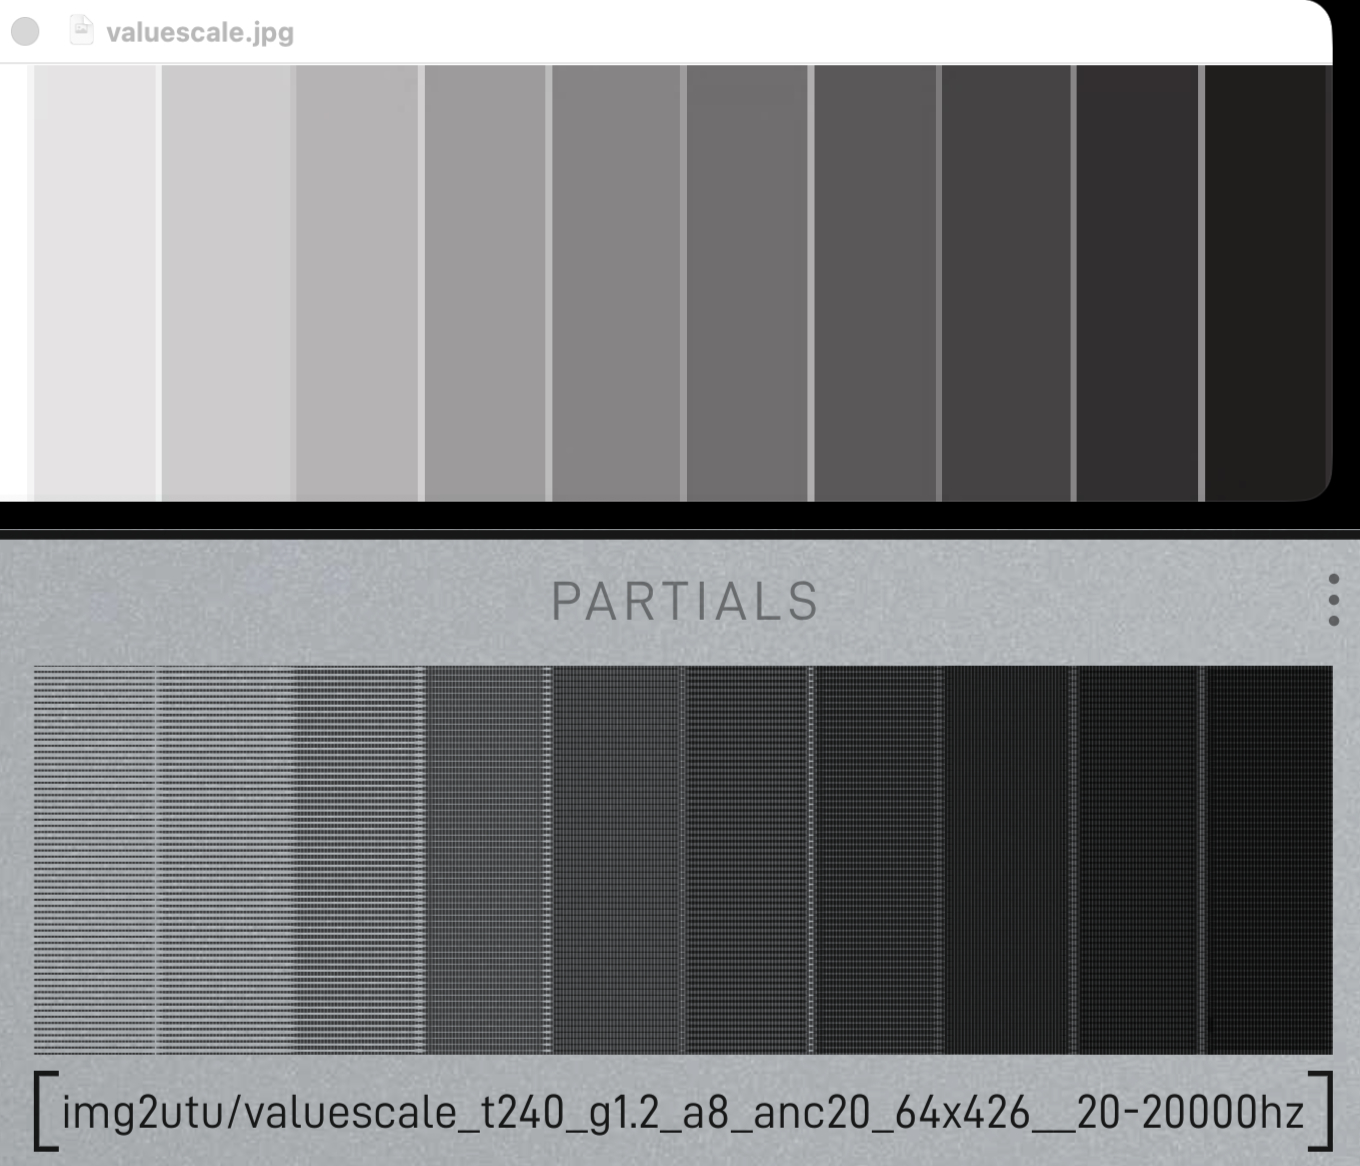
1. No color. The partials window is grayscale so it makes sense to keep things simple and discard color information.
2. Use a "scanline" approach where pixel brightness is analyzed in horizontal strips and each strip becomes a partial of a fixed frequency. Even steps in time across all partials becomes the horizontal resolution. Easy peasy.
3. Vertical resolution of the result is capped at 64. This is the maximum amount of partials that are allowed to exist simultaneously.
4. Dark pixels = loud and bright pixels = silent. This is the inverse of what we usually see in a spectrogram, but since partials in Sumu are drawn as dark lines this had to be flipped to make the images look correct.
Fun facts about the partials window:
1. 10x3 aspect ratio. If 64 is our height limit, a width of 216 makes square pixels.
2. The vertical axis is logarithmically scaled: a constant distance added in pixels is a constant interval multiplied in frequency. This is the norm with spectrograms, reflecting the way we perceive pitch.
3. The edges of the display are relative. The earliest and latest partials in time define the left and right edges, the highest and lowest partials in frequency define the top and bottom.
4. Line thickness is relative to the largest amp value.
With those facts, we can now map pixels in our image input to partials on the screen. Facts 3 and 4 mean that special partials have to be designated anchor points. For example, what if the image contains no dark pixels at its edges? We still want the picture to include that negative space, so we have to make sure there are always points anchoring the edges. The same goes for amplitude and line thickness but in a different way. Simply defining a maximum amp value to map black pixels to creates another problem. Depending on how densely we draw the partials, thick ones will overlap and create even darker areas. To fix this, a single amp anchor partial is added as a ceiling above the maximum, to let us control the amp range that brightness is mapping to.
After tuning this balance a bit, goal number 1 is done! We can reliably print grayscale images as Sumu partials. Sometimes the command takes a bit of tweaking to look right. Try passing the options "-g 2" for a brighter gamma adjustment and "-d 2" to double the horizontal resolution, or partial density.
It's sounding really cool! I could've stopped here but I knew from the start that I wanted quantization because I'm a freak for quantizing everything. The less musical the source the better.
I chose to quantize in two layers: tuning systems and scales. The tuning system defines what pitches can be used within our frequency range. Our western ears are most used to equal temperament, so that's the default. There are many alternate tunings to explore as you may have encountered in Madrona Labs instruments. We use Scala files as the standard way of importing tunings, img2utu does the same.
Enable quantization by passing the -q flag.
Import a custom tunings with -t followed by a scala file."just" and "pythagorean" are also built in.`
After defining the tuning, we can choose what notes within the chosen tuning to use.
Along with the -q flag, choose a scale with -s followed by the number from the list of scales below. You can also create custom note mask with a series 0s and 1s.
0 Chromatic (all notes)
1 Ionian (major)
2 Dorian
3 Phrygian
4 Lydian
5 Mixolydian
6 Aeolian (natural minor)
7 Locrian
8 Melodic minor
9 Harmonic minor
10 Major pentatonic
11 Minor pentatonic
... and more
Note that these scales are simply note masks that toggle what frequencies from our tuning system can select. Using them with any non 12-tone tuning will result in pitches that sounds nothing like their names suggest.
A subtle but intriguing detail is that note masks will repeat regardless if its length unequal to the number of divisions in the tuning's period. In other words, if you quantize to the default 12-tet and pass a scale pattern shorter/longer than 12 such as "-s 1010000100", that note cluster will repeat to cover the entire range. It doesn't care at all about where octaves are.
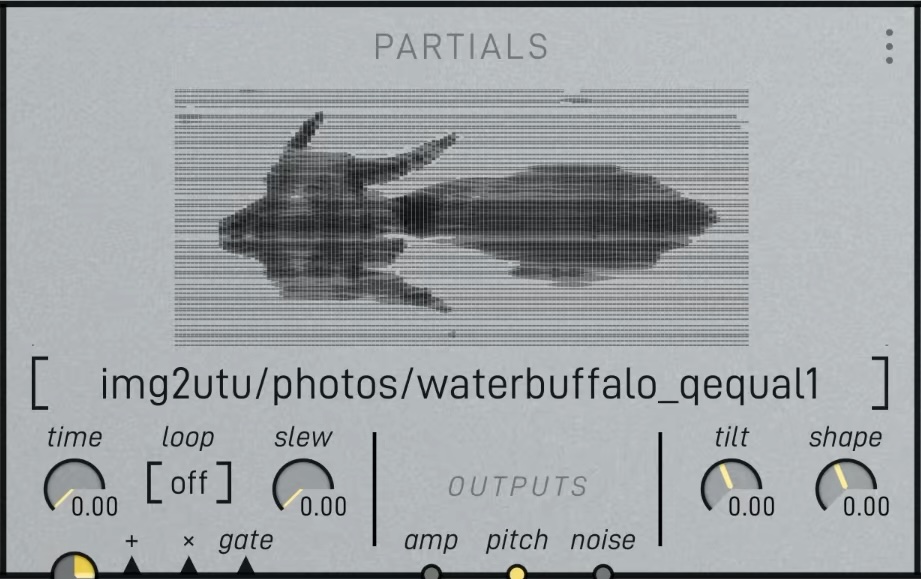
The well-tempered water buffalo.
Things are sounding quite interesting and musical now that we have the option to quantize. I think the script accomplishes what it set out to do. Now it's time to experiment!
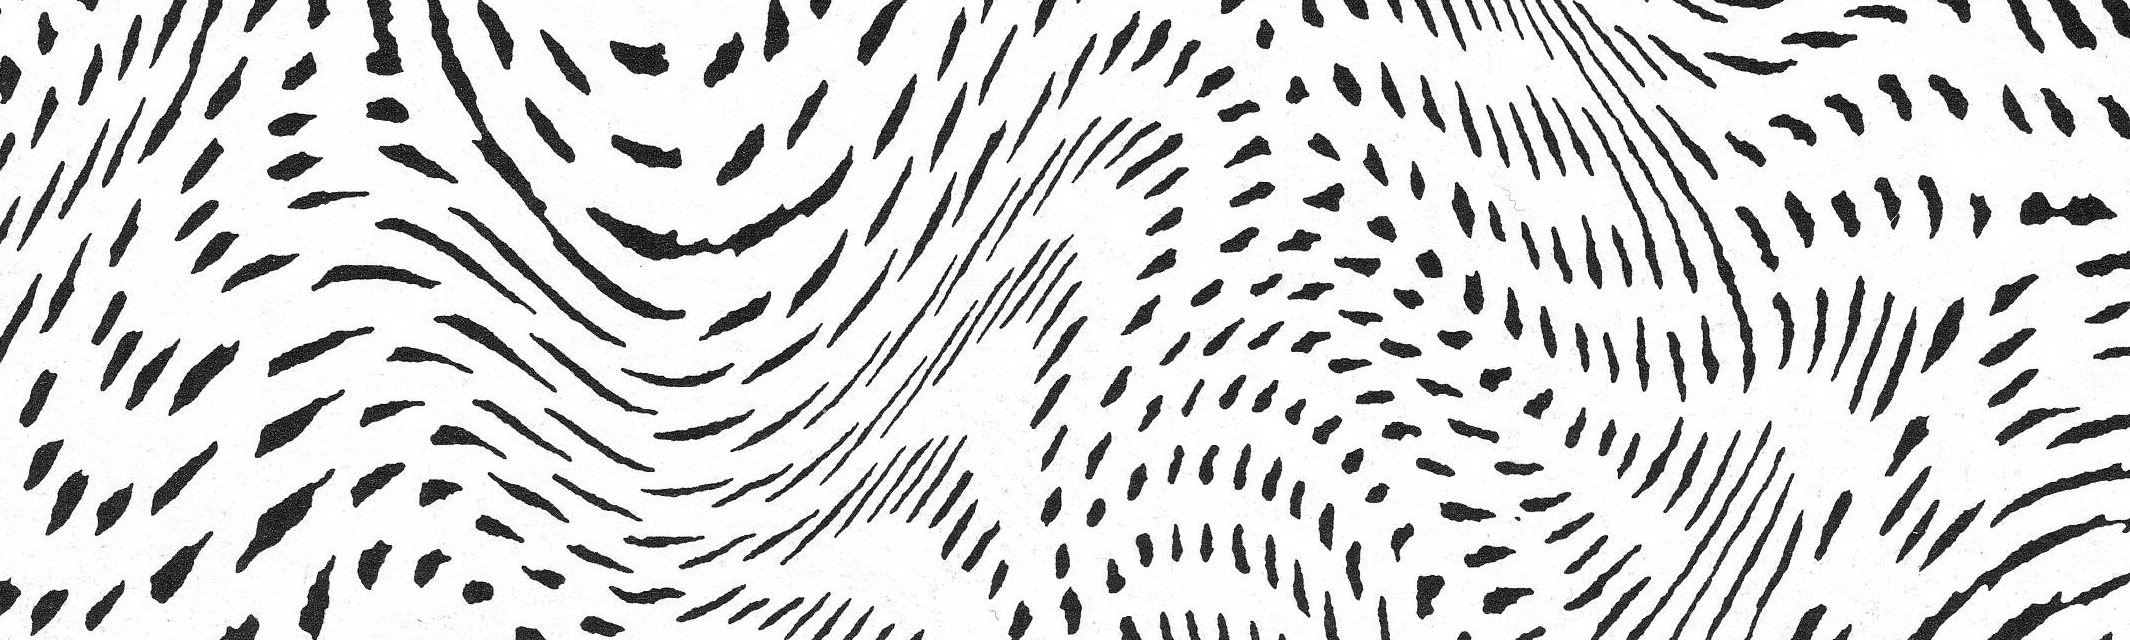
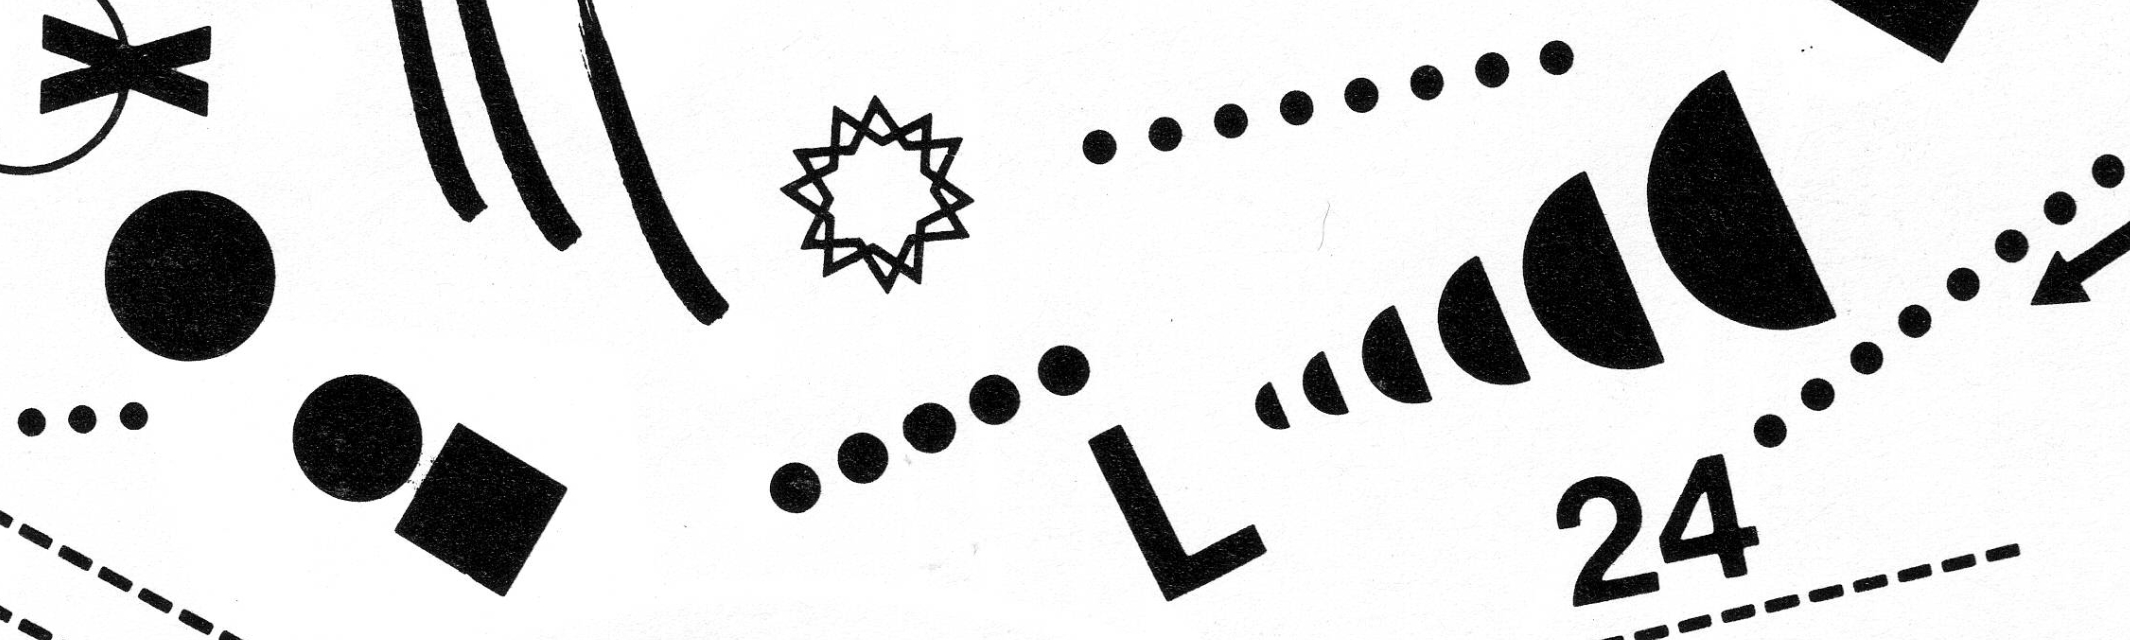
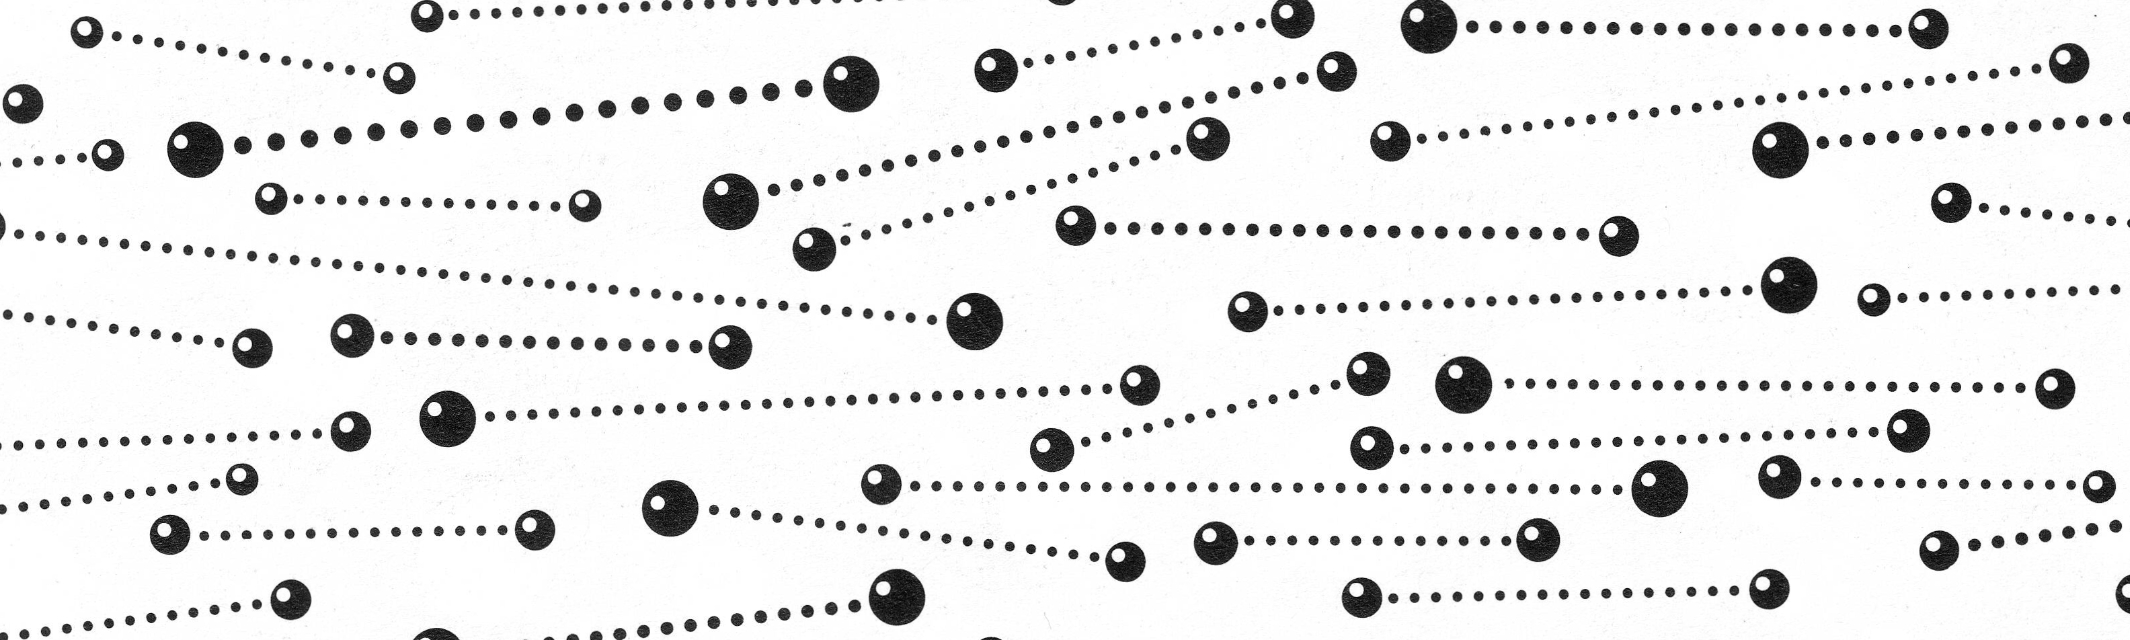
Here are some images to try. I scanned them from vintage pattern books. Go ahead and right click -> save image as.
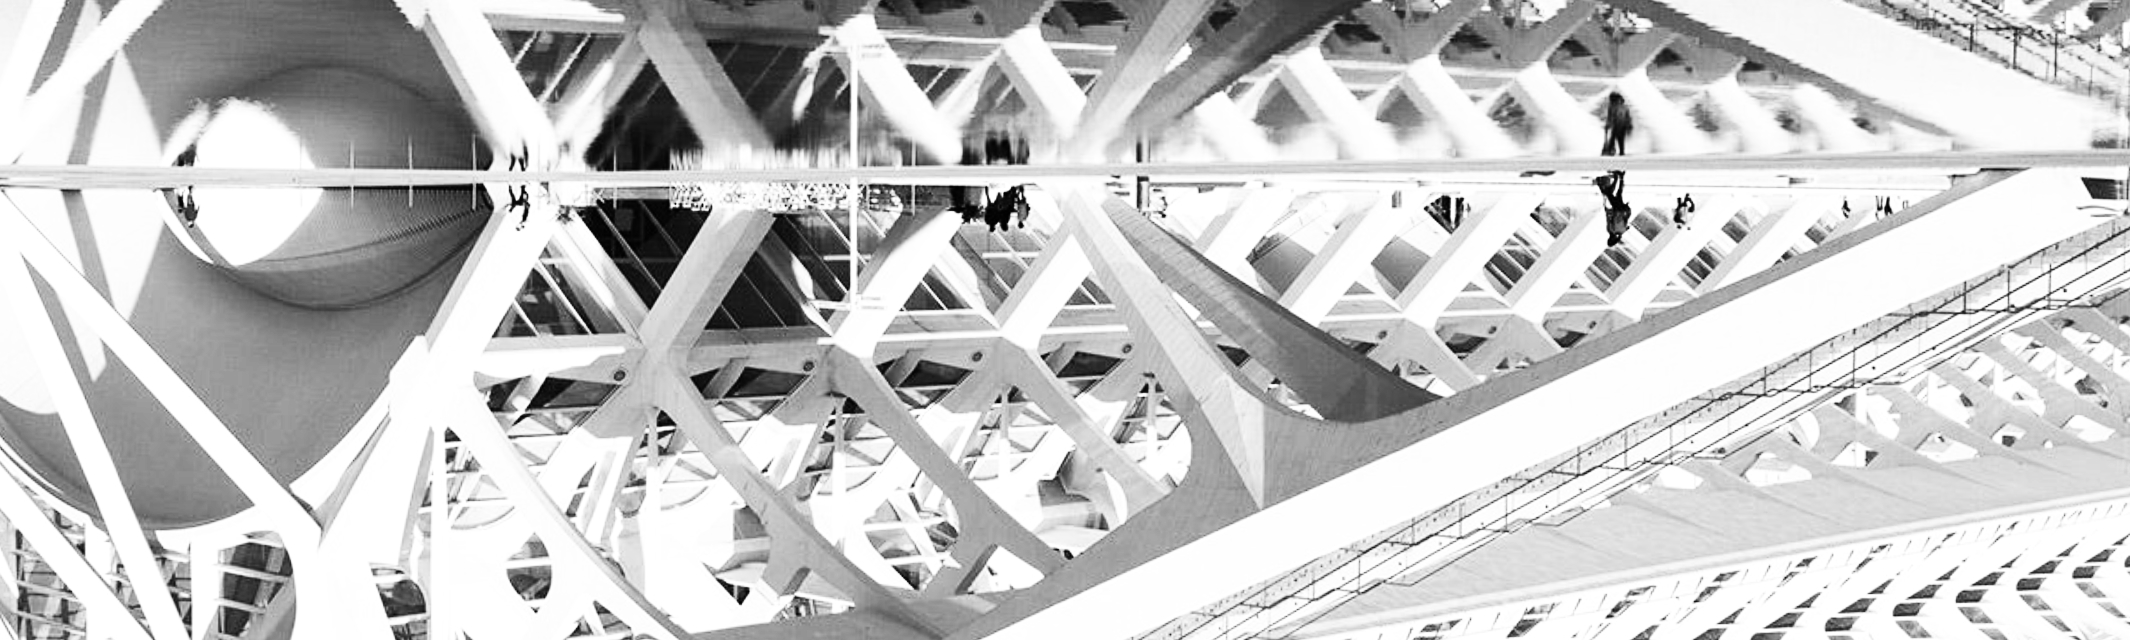
Bonus architecture photo - name that building!
Ambient patch recipe:
Use a fairly sparse image. Find something with organic, horizontally running lines and/or speckles. Make these marks on a piece of paper if you want to.
Example command:
python3 img2utu.py image.jpg -q -s 2 -l 80 -x 2480
Make sure to replace image.jpg to the filepath of whatever image you're using. These options quantize to dorian, and set the frequency range to 80hz-2480hz.*In Sumu, delete all patch cords from the default preset and re-import your partials folder with your new .utu file inside. Patch partials to the oscillators, amp->amp and pitch->pitch. Turn up the gates level. Patch all pulses to time and turn up that level too.
Use a very low BPM to slowly scan through the partials. Probability controls the density of active partials. Width and center aim the pulses. Hi-scale creates tremendous phasing effects. Don't be ashamed to add copious reverb.
Now you can sleep.

This script has been super fun to experiment with. So far I'm finding that the settings you use matter just as much as the content of the image. Using the -P option to print your settings into the filename is massively helpful for exploring many variations. I've also been throwing it folders and processing dozen of images at once. Partials are just the beginning though. The way you patch with them is really where things come alive.
I didn't even touch on the different image sizing modes, saving and loading presets, etc. All that can be found in the readme.
Sweeet, that's gonna be it for this post. Look out for the video about img2utu coming soon to our YouTube channel. See ya!